Drawing Aircraft
on Your Computer
This page was last updated 03 February 2013
Drawing aircraft on your computer may not be as hard as you think. As with any task, you just need to take it one step at a time.
The process can be broken down into four basic steps: Linework, Colour, Shading and Detail. How much you put into each of these steps will determine how well your illustration comes out. How large and complex your subject is will effect how long the process takes.
I will take you through these four steps as applied to a whole aircraft and to a single component, a wheel. One thing I do need to assume is that you have working knowledge of a vector-based drawing program, such as Adobe Illustrator, and the same for a pixel-based image program, such as Adobe Photoshop.
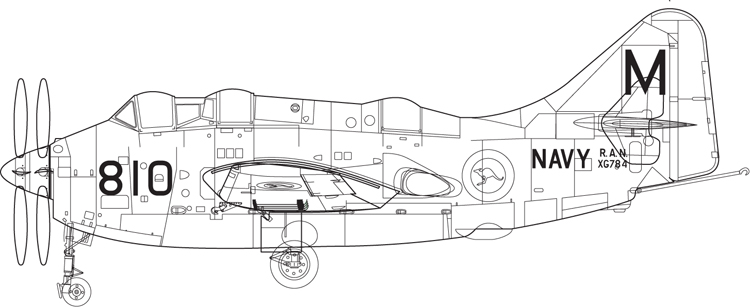
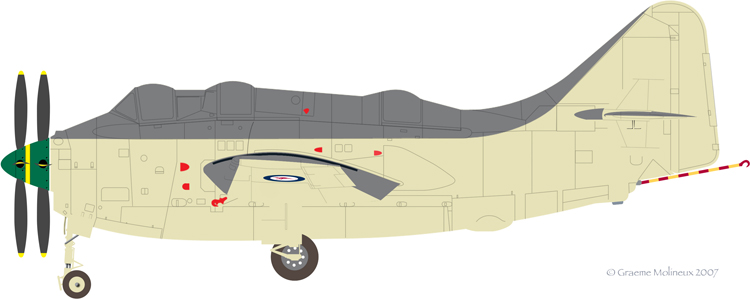
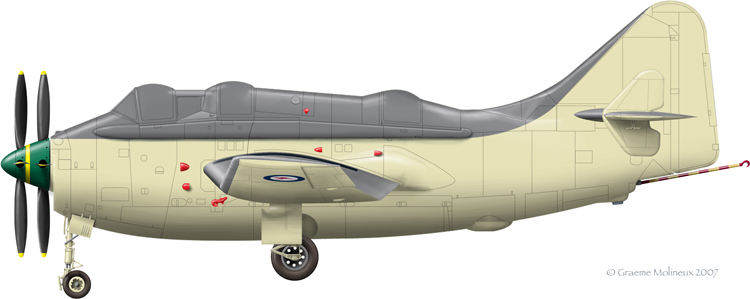
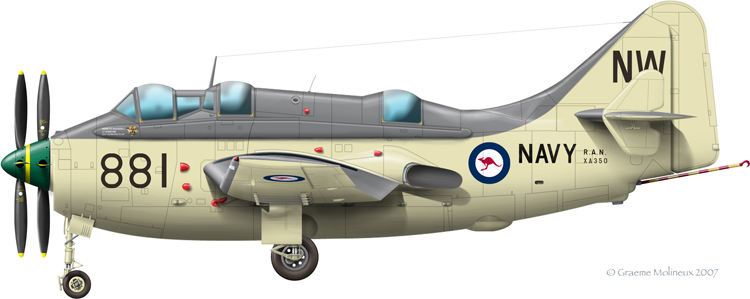
Here are the four steps as they apply to a whole aircraft. Of course, this is quite a simplistic but it serves to demonstrate the overall idea. Clicking on any of the mages or headings will take you to a page that describes the process in more detail.
The first thing to do is get the linework down so you can use it in the other steps like a colouring-in book. Place an image in your drawing program and trace over it, dividing the image up into areas of different colours.
Import the paths from your linework file into your painting program. Using the imported paths, select areas of one colour and fill them using a brush or bucket tool, like you are doing a “Painting by Numbers” exersize. Markings are added now too, this way they go under the shading in the next stage and don’t look like they are stuck over the top. It may be necessary to add new paths to your imported paths to refine various shapes and add new areas as you go.
So now you have this nice neat, very flat, image. This is where the fun starts! You now apply shading and highlights to bring the shape to life. It is a good idea to apply these each on a new layer, so it is easy to undo or reduce the effect if you go to far or don’t like it. If you have two shadows overlapping, put them on separate layers too so the effect is multiplied.
Adding details covers two or three sections. Small details can be treated as if they are separate illustrations, with their own paint and shading layers. Things like panel lines can be laid on. Details that are independent of the main body get added now too, things like weapons and undercarriage. Colour and shade your windows, and finish off by adding any wear and tear like exhaust stains, bumps and scrapes or textures you want and, hey presto, you’ve drawn a plane!


